
Your Travel eSIM Secret for Effortless Global Data
A travel eSIM is a digital SIM card embedded in your phone that lets you instantly connect to local mobile networks abroad without swapping physical cards. Once you buy and scan a QR code for your destination, your device activates the plan and automatically finds the best signal—so you’re online within minutes of landing. No more hunting for airport Wi-Fi, dealing with roaming charges, or risking losing your physical SIM. The real gift is arriving with data already working, turning travel anxiety into the simple pleasure of having directions, translations, and loved ones just a tap away.
What Exactly Is a Travel eSIM and Why Do You Need One?
A travel eSIM is a digital SIM card embedded in your phone that you activate by scanning a QR code, eliminating the need for a physical plastic card. Instead of swapping SIMs at every border, you purchase a data plan for your destination before you leave or on arrival, and the eSIM profile is downloaded instantly. You need one because it keeps your primary home number active for calls and texts (if your phone supports dual SIM) while giving you a local data connection at far cheaper rates than your carrier’s roaming passes. A travel eSIM is your key to immediate, affordable connectivity without hunting for a store or risking your physical SIM. Crucially, it allows you to land already online, get maps, translate, and stay reachable.
For frequent travelers, the real win is convenience: no airport kiosk queues, no tiny SIM trays, just a working data connection the second you switch on airplane mode.
How a Digital SIM Differs From a Physical Plastic Card
A digital eSIM ditches the plastic card entirely—it’s a tiny, rewritable chip soldered inside your phone. Instead of swapping SIMs, you scan a QR code or download a profile, which instantly activates a local data plan. The biggest practical difference? You can hold multiple eSIM profiles on one device and switch between them in settings without fumbling with a tray. With a physical card, you’d carry, insert, and risk losing a tiny piece of plastic. For travel, eSIMs let you add a data plan before you land, while a plastic SIM usually requires finding a store at your destination. Also, there’s no need to keep your old SIM safe—the eSIM profile is simply deleted when not needed. To use one: check phone compatibility, buy a plan, scan the QR, and activate—all digital, zero hardware.
The Real Reason Frequent Flyers Are Switching to Embedded SIMs
Frequent flyers abandon physical SIMs because embedded eSIMs remove the last physical dependency from their travel workflow. A loose nano-SIM can snap during a midnight layover, leaving you stranded without maps or boarding passes. With an embedded chip soldered to the device, there is nothing to lose, swap, or fumble while juggling hand luggage. The real shift is psychological: your connectivity becomes a fixed feature of the phone itself, not a fragile accessory. This eliminates the ritual of finding a paperclip to eject a tray in a crowded arrivals hall. For multi-leg trips, you simply preload regional profiles and toggle between them mid-air, skipping the queued SIM kiosk entirely. That permanence is why frequent flyers now treat embedded SIM travel reliability as non-negotiable.
**Q: What is the real reason frequent flyers are switching to embedded SIMs?**
A: They want zero hardware handling—no tray ejection, no lost micro-cards—and instant digital switching between country profiles without relying on airport vendors or fragile physical components during time-sensitive connections.

How Does an eSIM for Travel Actually Work on Your Phone?
When you buy a travel eSIM, your phone downloads a digital profile—basically a tiny file with your new number and data plan—straight over Wi-Fi. You scan a QR code or tap an installer link, and within a minute, the profile sits on your device’s built-in eSIM chip. In your settings, you switch to that line for cellular data. Your phone then connects to local towers in your destination, just like a native SIM would, because the profile carries local network credentials. Crucially, your original physical SIM stays active for calls and texts, and you toggle data between lines as needed. Q: Do you need to remove your home SIM? A: No—it stays put, and you simply choose which line handles data, so you can keep your usual number reachable. Once your trip ends, you delete the profile in settings, and your phone instantly reverts to its normal setup—no tiny SIM cards to juggle or lose.
Scanning a QR Code vs. Manual Installation – Step-by-Step Basics
When activating a travel eSIM, scanning a QR code is the fastest method: open your phone’s cellular settings, choose “Add eSIM,” and scan the code supplied by your provider—the profile downloads and activates within a minute. Manual installation, by contrast, requires entering the activation code and SM-DP+ address by hand, which is slower and prone to typos. For the step-by-step basics of travel eSIM setup, follow this sequence:
- Ensure your phone is unlocked and connected to Wi-Fi.
- Navigate to Settings > Cellular > Add eSIM.
- Scan the QR or select “Enter Details Manually.”
- Label the profile (e.g., “Travel”) and set it as the data line.
The QR method minimizes errors, while manual entry serves as a fallback if the code is damaged—both result in the same network profile being installed.
Understanding Local Networks, Roaming, and Data Profiles
When you install a travel eSIM, your phone’s modem actively scans for local carrier frequencies, but it does not automatically join just any tower—it selects a partner network based on the roaming agreements baked into your eSIM profile. This process forces your device to switch from your home carrier’s identity to a temporary local one, which changes how data is routed. Roaming then operates in one of two modes: your phone either connects directly to a local tower (native roaming) or it latches onto a foreign network that relays traffic back to your home provider eSIM South Africa (international roaming). Your data profile, meanwhile, holds the APN settings, authentication keys, and preferred network list that dictate which towers your phone trusts. To manage this practically:
- Go to Settings → Cellular/Mobile Data and select your travel eSIM line.
- Toggle “Data Roaming” on—this is required even for local networks on a travel eSIM.
- Under “Network Selection,” choose “Automatic” to let the eSIM pick the strongest partner tower, or manually scan and lock a specific carrier if you have no signal.
Each time you cross a border, the profile refreshes its preferred operator list, so you may need to toggle airplane mode to re-trigger a network scan for the new region’s local partners.
Which Phones and Devices Support Travel eSIMs?

Most modern phones handle travel eSIMs seamlessly, but you’ll want to check compatibility before you buy a plan. Unlocked iPhones from the XS/XR onward (including the SE 2020 and newer) support travel eSIMs, while Google Pixel devices from the 3a up to the latest 9 series are solid bets. Samsung’s Galaxy S20, S21, S22, S23, and S24 lines work too, as do the Z Flip and Z Fold series. Beyond phones, cellular iPads (like the Pro and Air models) and select smartwatches—such as Apple Watch Series 5 and later—can use travel eSIMs. *Quick Q&A: Can an older phone like the Galaxy S10 use one? No, it lacks eSIM hardware.* Always confirm your device is carrier-unlocked and check “eSIM” in settings before traveling, since regional variants sometimes differ.

A Quick Compatibility Checklist Before You Buy a Data Plan
Before purchasing a travel eSIM, run a quick compatibility checklist to avoid wasted credit. First, confirm your phone is carrier-unlocked—a locked device rejects foreign eSIM profiles. Next, verify eSIM support via your model’s IMEI or the manufacturer’s spec sheet, not just “5G” marketing. Check that your device’s firmware allows adding multiple eSIMs, as some regions disable this. Then, examine the plan’s coverage map against your exact destinations, not just country-level. Finally, ensure the plan supports hotspot tethering if you need it, since some budget eSIMs restrict this.
Q: What is the fastest way to verify eSIM compatibility?
A: Go to Settings → Cellular (or Mobile Data) → Add eSIM. If that option exists, your phone is ready. Otherwise, it is not compatible, regardless of the plan’s claims.
Also, activation windows matter—check if the plan starts on purchase or first connection, so you don’t burn days before your trip begins.
What to Do if Your Phone Isn’t eSIM-Ready
If your phone isn’t eSIM-ready, don’t cancel your trip just yet—you still have solid options. First, check if your device supports a **physical SIM adapter** from providers like Airalo or Holafly, which ship a travel eSIM alternative pre-installed on a nano-SIM. Alternatively, carry a portable Wi-Fi hotspot (GlocalMe or Skyroam) and tether your phone to it, or rely on local prepaid SIM cards bought at your destination’s airport. For quick fixes, download offline maps and WhatsApp before departure, and activate Wi-Fi calling if your carrier allows it.
What to do if your phone isn’t eSIM-ready often comes down to planning ahead—order a physical SIM or hotspot before you fly.
**Q: Can I still use data abroad without eSIM?**
Yes—get a global physical SIM or hotspot, and you’ll stay connected just as easily.
How to Choose the Right Data Plan for Your Trip
Choosing the right travel eSIM starts with mapping your itinerary: a 5-day city break needs far less data than a three-week road trip with constant navigation. Match your data allowance to your digital habits—streaming and video calls burn through gigabytes fast, so opt for a larger plan if you rely on them, while light users can thrive on a modest bundle. Prioritize plans that activate immediately upon arrival, avoiding the hassle of airport Wi-Fi hunts. Always verify if the eSIM targets the specific countries you’re visiting, not just the region, as coverage gaps ruin spontaneity.
The sweet spot is buying slightly more data than you predict, because topping up mid-trip often costs more and interrupts your momentum.
Finally, check validity dates carefully to ensure the plan covers your entire return, preventing an awkward dead zone at the airport.
Comparing Data Allowances, Validity Periods, and Coverage Areas
When picking a travel eSIM, start by comparing data allowances against your actual habits—streaming burns through gigs fast, while maps and messaging barely dent them. Validity periods matter too: a 30-day plan beats a 7-day one if you’re hopping countries slowly, but avoid overpaying for unused days on short trips. Coverage areas are the real kicker—check the eSIM’s network partners, not just “global” claims, since rural regions or island nations often have spotty support. Matching allowance, validity, and coverage to your itinerary prevents mid-trip top-ups. A “regional” plan can cost half of a worldwide one if you stay within one continent.
Q: How do I balance data, validity, and coverage when comparing eSIMs?
A: Prioritize coverage first—it’s useless if you’re offline. Then match validity to your trip length, and finally pick data that covers your daily usage, leaving 20% buffer for unexpected uploads.
Regional Plans vs. Global Plans – Which One Saves You More?
Regional plans beat global ones when your itinerary clusters within a single zone, such as Europe or Southeast Asia. They trim costs because carriers price by aggregated local networks, not worldwide roaming. Global plans justify their premium only when you hop across multiple continents on the same trip—think Tokyo, then Nairobi, then Lima. Before buying, map each destination against the provider’s coverage map; a “global” label often excludes countries or caps speeds. For most single-region travelers, regional eSIM wholesale pricing cuts expenses by 30–50% versus global counterparts, while globe-trotters avoid per-country top-ups. The real saver is matching plan geography to your actual route, not the plan’s name, because overlapping coverage rarely exists between regional and global tiers.
Step-by-Step Guide to Setting Up and Activating Your Travel eSIM
Before your flight, open your phone’s Settings, tap “Cellular” or “Mobile Data,” then select “Add eSIM.” Scan the QR code your provider emailed you, or enter the activation code manually—this takes under two minutes. After landing, disable your primary SIM (or set the eSIM as default for data) and toggle on data roaming, since travel eSIMs rely on local networks. A common question: *“Why won’t my eSIM connect immediately?”* Usually, it’s because you haven’t activated the plan—some operators require you to turn on roaming once, or need a network rescan after switching regions. If so, restart your phone, then wait 30 seconds for the tower handshake. Your travel eSIM should show “LTE” or “5G,” and you’re online for maps, messaging, and booking changes.
Installing Before You Fly vs. Activating at Your Destination
Installing your travel eSIM before departure is the smarter move, as it lets you confirm carrier profiles, test connectivity, and troubleshoot any issues while you still have Wi-Fi. Pre-installation eliminates airport panic and ensures your device is ready the moment you land. Activation, however, often becomes automatic upon reaching your destination, so you do not need to toggle settings mid-trip. Still, wait until you arrive if your plan offers a flexible start date—this preserves your validity window. The risk? Scanning a QR code abroad without stable Wi-Fi can fail. Prioritize installing early; activate later only if your provider explicitly grants a delayed start.
Switching Between Your Home SIM and Travel eSIM Without Losing Service
Switching between your home SIM and travel eSIM without losing service requires you to manage your device’s dual-SIM settings proactively. Before departure, disable automatic network selection on your home line to prevent roaming fees. On your phone, set the travel eSIM as the active data line, while keeping your home SIM enabled for calls and texts—this ensures you never drop your primary number. Toggle cellular data to the eSIM, but enable “Allow Data Switching” so your home SIM can catch missed signals in dead zones. Always keep both lines active; turning one off risks delayed SMS verification codes. In settings, choose the eSIM for data, your home SIM for voice, and test the switch before you leave.
Keep both SIMs active, assign data to the eSIM, and enable data switching to move between networks without losing service.
Smart Tips and Common Mistakes to Avoid When Using an eSIM Abroad
Before departing, verify your phone is carrier-unlocked and install the travel eSIM while you still have Wi-Fi, as scanning the QR code abroad without connectivity can strand you without a plan. Always read the data package’s coverage map—many “global” eSIMs route through specific networks, so a local carrier’s dead zone becomes your problem. A common mistake is leaving the primary SIM active, which triggers expensive roaming charges; disable it in settings and set the eSIM as the default for data. Also, avoid purchasing a data-only eSIM if you need to receive SMS for banking—check whether your plan supports calls or texts. Test your eSIM immediately after landing by toggling airplane mode on and off, then ask: “Why does my eSIM show no service—should I manually select a local network?” Manually choosing a network listed in your eSIM’s provider app often fixes connectivity issues, whereas relying on automatic selection can fail. Finally, never delete the eSIM profile mid-trip to “troubleshoot”—you may lose your only active plan and must repurchase.
Managing Dual SIM Settings to Prevent Unexpected Charges
When traveling with a travel eSIM, keep your primary physical SIM active only for calls and SMS, but explicitly disable its data line in iOS or Android settings. Set the eSIM as the default for cellular data, and critically, disable “Allow Cellular Data Switching” to prevent the phone from falling back to your home carrier’s roaming rates when the eSIM signal dips. Prevent unexpected charges by locking your primary SIM to 2G/3G only, as this blocks any background data handoffs while still receiving texts. Even a single iMessage registration attempt on a parked SIM can trigger a daily roaming fee, so toggle the primary line off entirely if you rely on WhatsApp or Telegram. Always reboot after changing SIM settings and verify the data icon shows your eSIM provider before browsing.
Summary: Default data to eSIM, disable auto-switching, and restrict your home SIM to no-data mode—then confirm after reboot—to avoid surprise roaming bills.
What to Do If Your Data Isn’t Working – Quick Troubleshooting Fixes
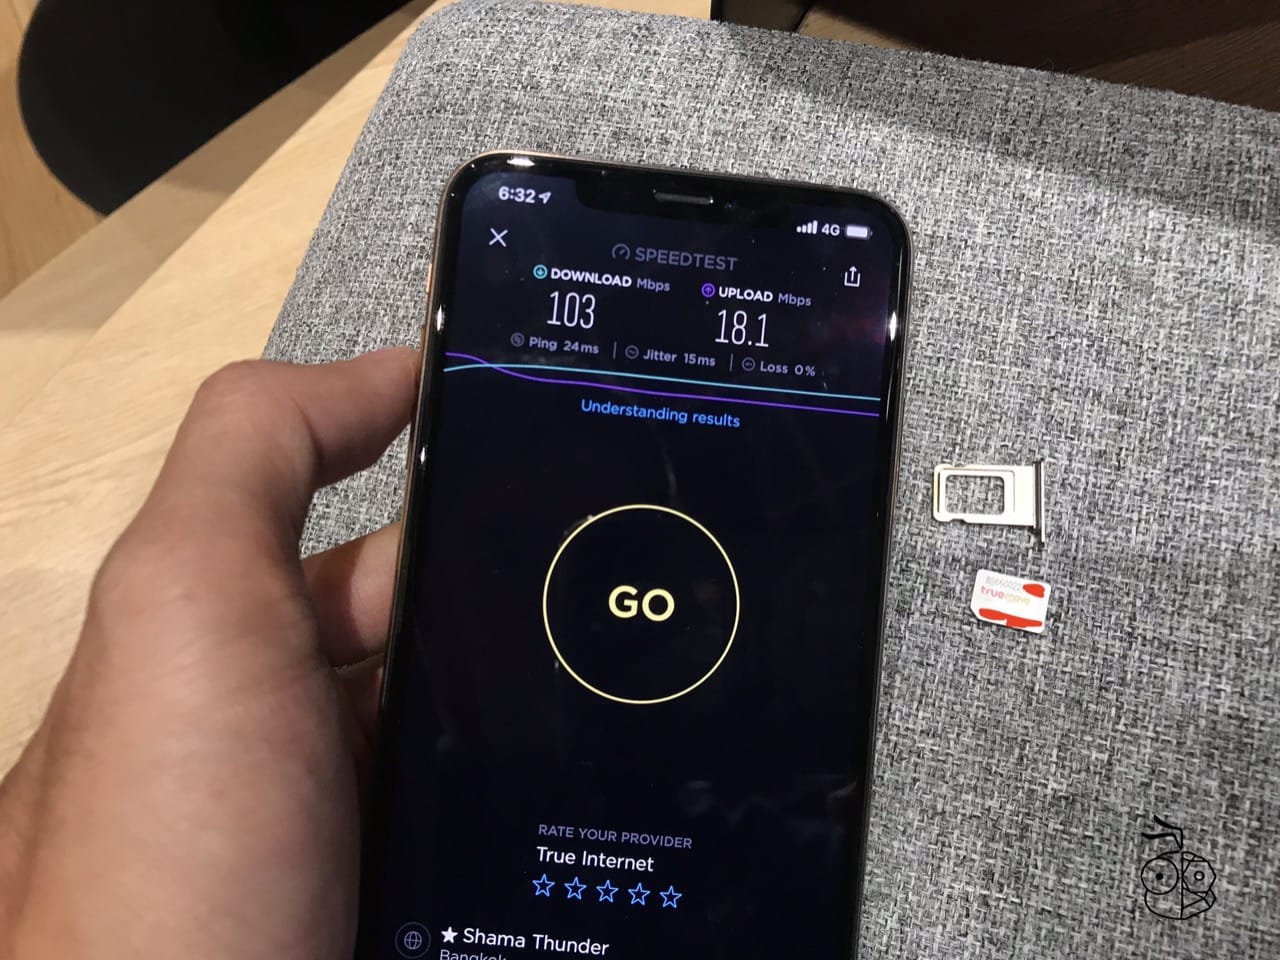
If your travel eSIM data fails, start by toggling airplane mode on and off to force a network re-registration. Next, manually select your destination’s local network in your device’s cellular settings, as automatic selection sometimes locks onto an incompatible tower. Verify that data roaming is enabled for your specific eSIM line, not just the primary SIM. Check the APN settings against the carrier’s provided values—an incorrect APN is a common blocker. Finally, confirm your eSIM profile has an active data plan and that you haven’t hit a speed or usage threshold. If issues persist, delete and re-download the eSIM profile, ensuring you have stable Wi-Fi for the reinstallation.
Keeping Your Primary Number Reachable for Calls and SMS While Traveling
Keeping your primary number alive for calls and SMS while you roam is easier than you think. Before you leave, enable Wi-Fi Calling on your home SIM and set your phone to use data from your travel eSIM—this lets you receive texts and answer calls over Wi-Fi without racking up roaming charges. For non-Wi-Fi moments, forward calls to a VoIP number or a Google Voice line, and check that your carrier supports conditional call forwarding for travel eSIM setups. Also, disable automatic network selection on your primary line so it stays off roaming entirely, while your eSIM handles data. Test texts and calls before departure to avoid silent failures.
Keep your primary SIM on Wi-Fi Calling or call forwarding, and let your eSIM handle data—so you never miss a ping while abroad.